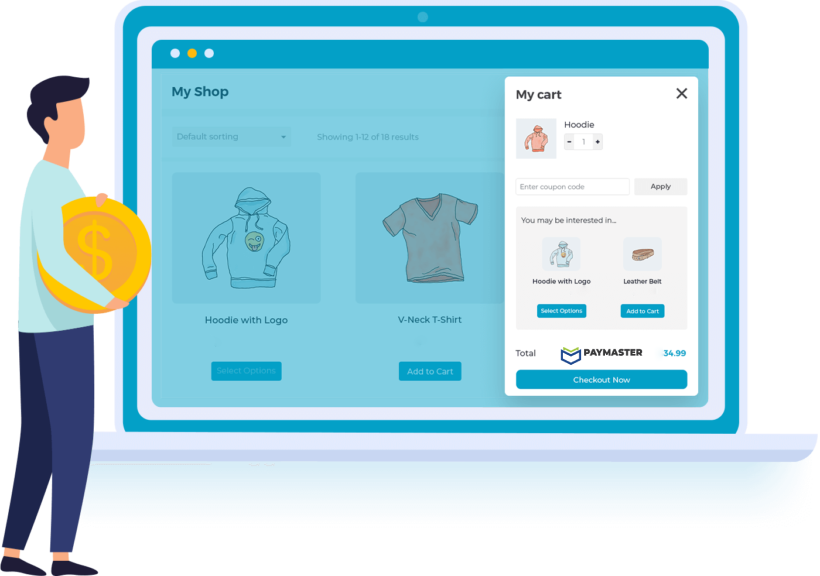
Payment widget

Make payments without
any developer skills

Using a simple plugin, you get a ready-to-use tool for accepting payments on your site in just a few minutes.
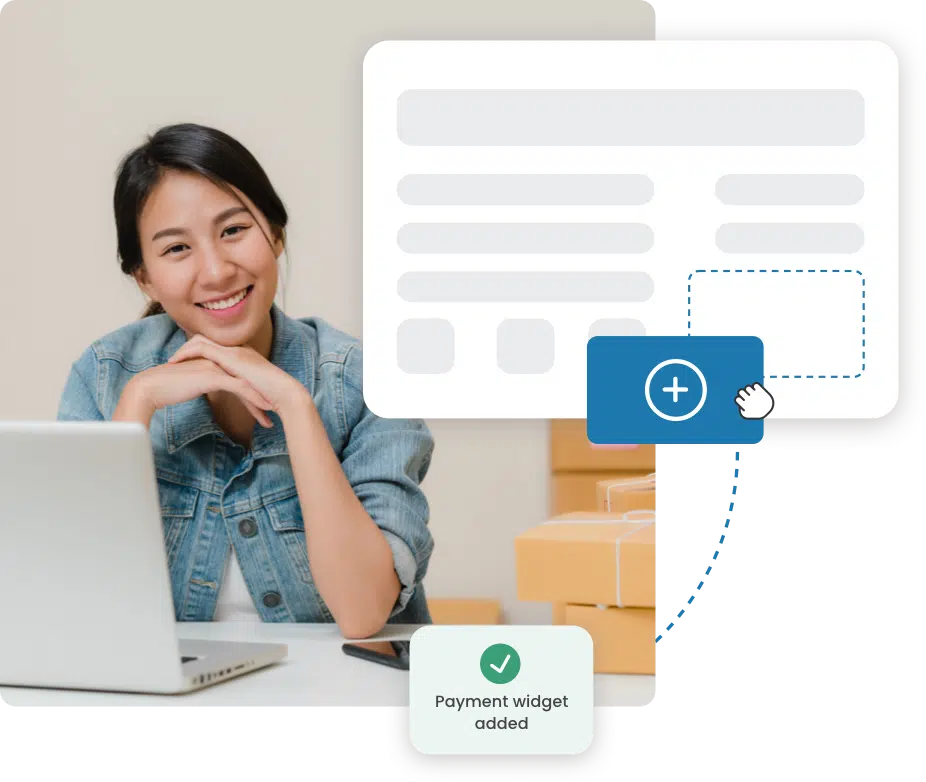
You can accept payments on the site in just a few minutes

PayMaster widget is a simple module that lets you add a payment system to your website quickly, and customize it to suit your needs. The widget can be displayed in all browsers, as well as on mobile device screens.

Make payments without any developer skills

You don't need to waste time and money on integration. Widget generation is available in your paymaster account via a simple plugin.

The right solution for every website and mobile application

Fast, easy installation on your site, a payment solution adapted to all websites and mobile applications.

All customer information is available

It is possible to get all the information relating to customers, simply by adding fields to the widget that will be requested during payment.

Payments without redirection

Allows you to accept payments directly on your site without diverting customers from the store. Your site doesn't need to be PCI DSS certified . in fact, the payment is made on the PayMaster side and visually on the store side.

Available payment methods

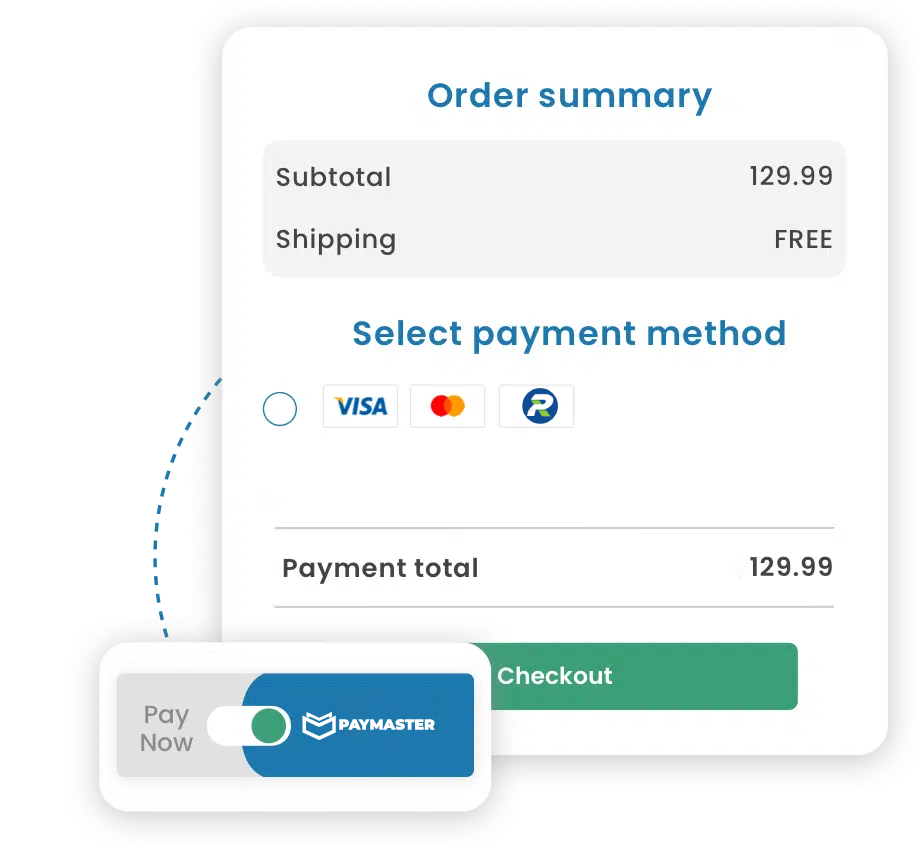
We accept payment by credit card (Visa, MasterCard) and via RunPay the quick payment system.

Payments by QR-CODE

A QR-CODDE can be scanned by a smartphone camera to pay the requested amount.

Our technologies

PayMaster widget is a simple module that lets you add a payment system to your website quickly, and customize it to suit your needs. The widget can be displayed in all browsers, as well as on mobile device screens.

Integration

It's quick and easy to install, works in all browsers and is available for all mobile devices.

All payment methods in one place

We accept payment by credit card (Visa, MasterCard) and via RunPay .

Get details

You can add fields for all payer details and data. They can be necessary or optional.
For who ?

We help you increase your sales with online payment

For those who have an online store and want to accept online payments on their website. and who don't want to spend time and money on integration :

  • Providing services
  • Sales without merchandise catalogs
  • Having a website
widget

How to create and use a widget on a website?

In the "Stores" section of your personal Paymaster account, select the store for which you wish to accept payments. In the store details, you'll need to click on the "payment widget" link to open the plugin.
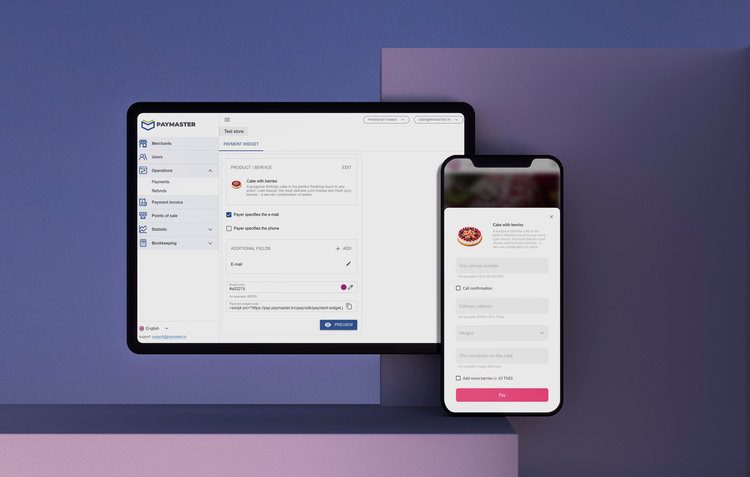


The widget creation process is step-by-step.

First of all, you specify the name of the product or service for which payment is to be accepted, add an image to be displayed during the payment process, and set a fixed cost or free of charge, if the cost is specified by the payer. To accept payment with automatic invoice sending, you need to define the item data to be reflected in the invoice.

By clicking on the "CONTINUE" button, the builder offers to add fields that will be displayed to the payer.

To add input fields for e-mail address and telephone number, simply click on the corresponding checkboxes.
For these fields, you can specify a note, as well as making them mandatory for entry.

If required, additional fields can be added during widget creation. You can add more than one type of field.


Types of fields that can be added :


A Text field to request any textual information. When adding this type of field, the field name is given, and the field note, if selected as mandatory.
A drop-down list for selecting a value from a predefined set of the seller's values. When adding this type of field, the general name of the field and the selection options are given, consisting of the name of the option and the amount that will be added to the initial cost when this option is selected. It is possible to add several options with different amounts, as well as without specifying the amount. The drop-down list can be either mandatory or optional.

Checkbox, for quick selection of an additional product. When adding this type of field, enter the name of the field and the amount that will be added to the initial cost when this checkbox is selected in the payment process by the payer.

For each field added, you can define the order in which it is displayed on the payment widget by simply dragging and dropping it into the editor. You can check your work and evaluate the final view of the payment widget at any time by clicking on the "Preview" button. In preview mode, you can check the functionality of the payment widget, including making a payment without placing it on the site.

The final code for the payment widget must be added to the site page.

Widget configuration has been successfully completed.